Photoshop control and picture altering instructional exercise for vehicles
Is picture editing in Photoshop a troublesome ability to dominate? Indeed, it appears to be that route from the external glancing in. Be that as it may, when you separate it, the picture altering measure is in reality overly legitimate. In this blog, I’ll clarify the strategies and cycles I use to make complicated photograph controls, proficient modifying, and definite creations.
Altering Techniques + Timing = Logical Workflow
Every method has its time and spot, and routine is viable with regards to picture altering.
I will utilize a functional model where I assemble a synthesis and afterward perform progressed modifying procedures on a supercar (with picture reference), so you can unmistakably track. Here is the prior and then after that…
Photoshop picture control when gif

Stage 1 – Creating Your Document
It’s imperative to make your archive at the right size and goal for your necessities. As an overall assertion, it’s smarter to go enormous and decrease picture size than to go little and attempt to build picture size.
Expert tip: If you are taking pictures that will be utilized on paper, at that point, use a goal of 300dpi. If you are taking pictures that will be transferred to the web, use a dream of 72dpi.
Making new report photoshop
Stage 2 – Placing Stock Images into Your Document
Then, we need to put our stock image(s) into the report. To do this, head up to File > Place Embedded; this will put your picture into your scene as an excellent article.
Expert tip: When putting pictures into your archive, copy the first layer and afterward alter the duplicated layer. This will leave a unique adaptation of your image in your working record. Making it a lot simpler to return to on the off chance that you need to.
New photoshop record
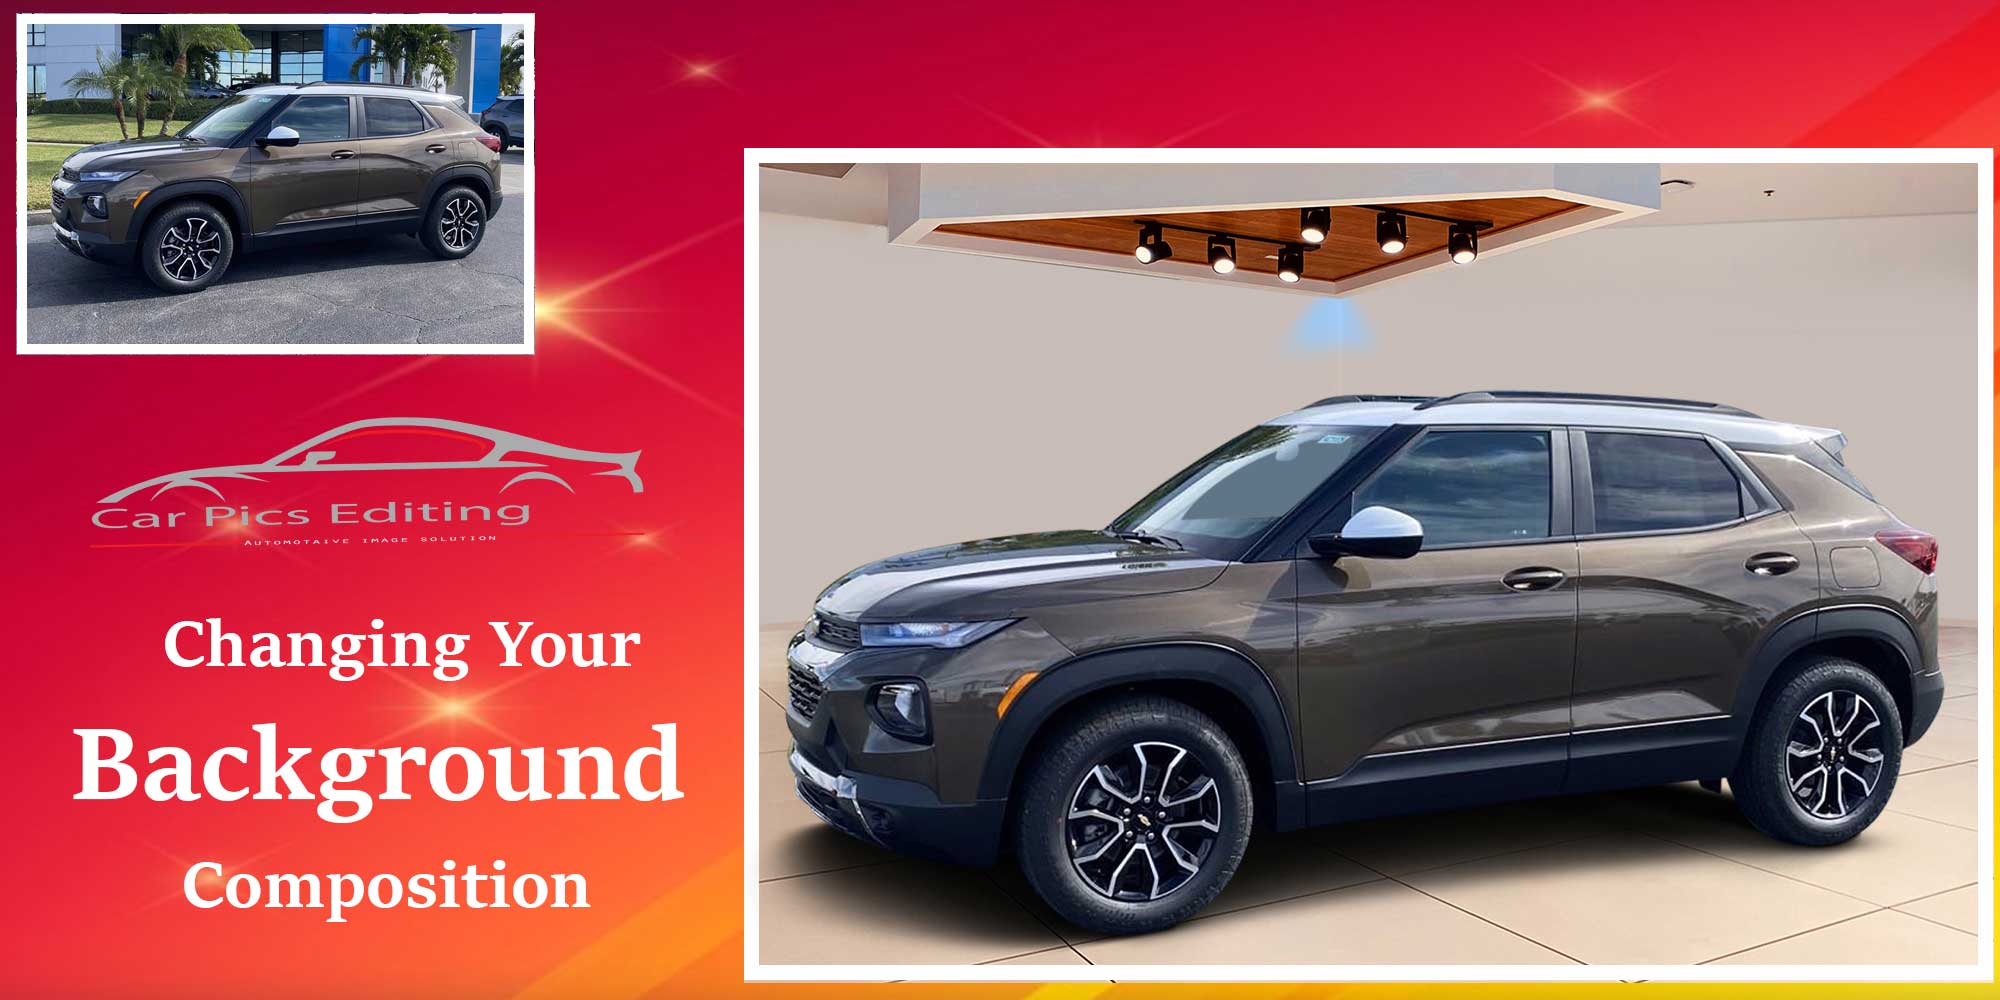
Stage 3 – Changing Your Background Composition
When you have the central picture in your record, it’s an ideal opportunity to investigate the organization. You can now search for stock pictures and begin to put them into your document to perceive what looks great. To make a sensible outcome, watch out for the point of view. New photos that you place into the scene should coordinate the point of view of existing photographs.
Foundation change picture control photoshop
Star tip: Find the best free stock pictures use on sites like Unsplash, Pexels, Pixabay, Free Nature Stock, and that’s only the tip of the iceberg.
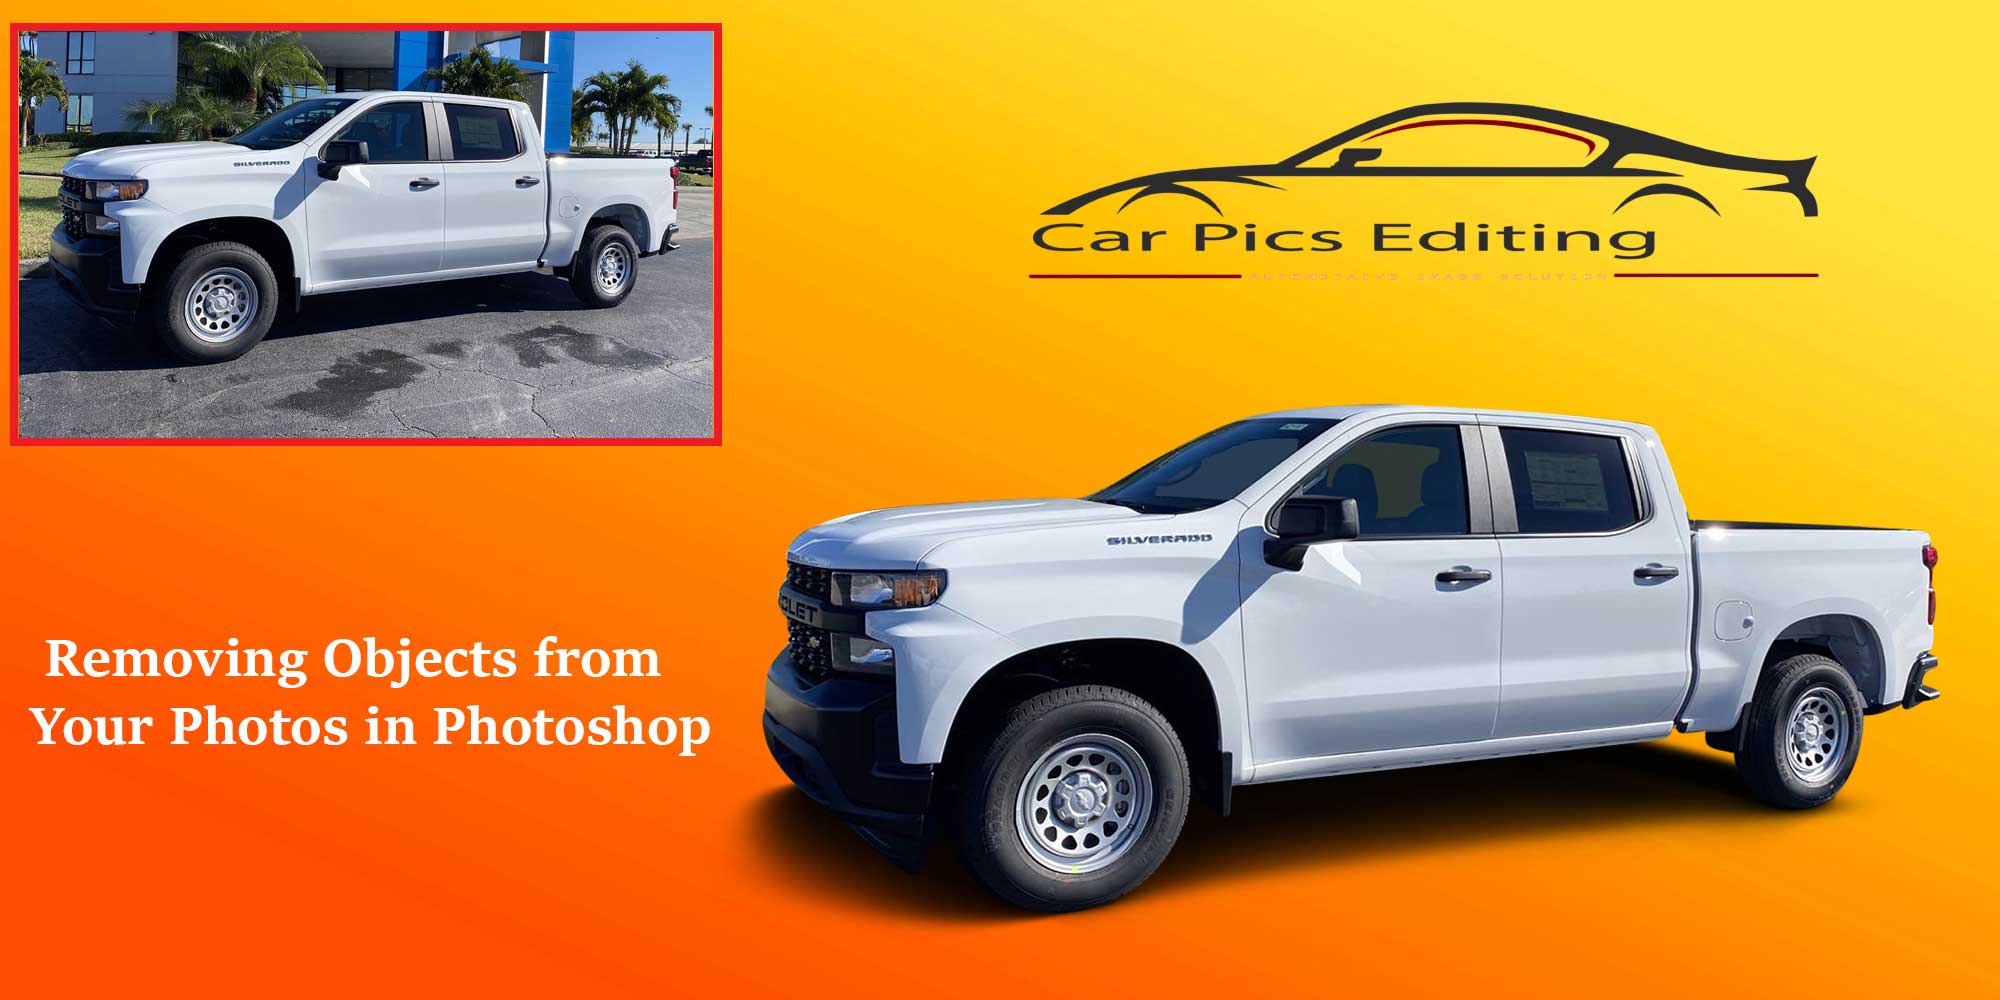
Stage 4 – Removing Unwanted Objects with the Clone Stamp Tool
It is safe to say that you are prepared to tidy up? That is actually what this stage is. You have sent all the pictures into your archive to construct the creation; right now is an ideal opportunity to eliminate unwanted parts. When altering the supercar, I needed to eliminate any blemishes on the shrubbery, clearing, vehicle and recently positioned stock pictures. See the prior and then afterward…
Peruse – Removing Objects from Your Photos in Photoshop
Eliminate undesirable subtleties photoshop
Stage 5 – Retouching the Focal Element of Your Image (Supercar)
Most creations will have a point of convergence, and you ought to consider this in the arranging stage. At that point, with regards to picture altering, you should give a lot of consideration to the end of convergence. For my situation, I expected to play out some alters on the vehicle.
Investigation – Take a stage back and think!! Take a gander at your structure and choose what you should change. I needed to change all the vehicle reflections; as we have changed the scene and assembled another organization, we expected to change the considerations. (The alters you perform here will be explicit to your synthesis).
I snatched the trusty clone stamp apparatus and began eliminating all the undesirable shadows on the vehicle. I won’t delve into all the shocking subtleties as this is a tedious alter. Take as much time as necessary and refine your change gradually. Here is the outcome…
Picture altering and correcting supercar sports
Perceive how much cleaner the vehicle looks with the abundance shadows eliminated. Awesome!
Stage 6 – Removing Personal Information/Details
When utilizing stock pictures, it’s critical to eliminate any close-to-home data, such as logos, text, names, and so on. This will evade any copyright encroachment and guarantee there is no item situation.
In my picture, I expected to change the number plate. This is a free stock picture, so it is anything but a significant advance, simply great practice.
Altering tag subtleties photoshop
Star tip: Use the slope and emblazon layer style when needed to give your content changes some profundity. This makes a proper completion.
Stage 7 – Correcting Contrast on the Car Body
Presently we have our piece finished, and all undesirable fragments of the scene have been eliminated. It’s an ideal opportunity to take a gander at the difference.
Expert tip: Use levels change layers to alter contrast. This is a non-dangerous method and takes into consideration changes at a later stage whenever required.
I needed to improve the differentiation to make my picture pop truly! It handled the vehicle first, at that point the haggles, and finally, the carbon subtleties.
Here is what the vehicle resembled when the difference change:
Differentiation picture altering photoshop
Stage 8 – Sharpening the Car
Consolidating various pictures can prompt different territories to be more honed than others. Portions of the foundation could be in the center when they ought to out of core interest. We need to alter the sharpness to guarantee lucidity in the picture, and the central regions are right.
To alter the sharpness, we will utilize the High Pass channel in blend with layer styles. We will, at that point, specifically hone certain zones using a layered veil.
Join all layers into one layer at the highest point of your layer stack
Rename the layer High pass
Channel > Other > High Pass – The sweep has chosen will rely upon your picture size, and I utilized a range of 30
Change the layer mix mode to Soft light
Fill your layer cover with dark to conceal the change
Select your brush device > White as your forefront tone
Paint over the zones that you might want to hone on your layer cover
It’s a successful strategy to make your pictures look overly fresh. You can go above and beyond and perform stages 1 – 7 to further hone portions of the image.
Progressed honing methods photoshop
Stage 9 – Advanced Color Correction
This is likely quite possibly the significant strides of the cycle; nonetheless, it’s frequently ignored. The last shading changes help make a consistent mix between all the pictures inside the organization. They likewise permit you to make a specific mind-set or feel. To play out this change, add a shading query change layer over any remaining layers. At that point, go in and alter each shading separately on the change layer. I’ve additionally decided to utilize a Photo channel to give a more splendid daylight impact.
Shading adjustment in photoshop
You can see substantially more solidarity in the tones, making a superior mix in the creation. The vehicle looks more outlandish.
Last Thoughts
Photoshop supercar photograph control
On the off chance that you follow these 9 picture altering strategies, you’ll be making staggering pictures, arrangement, and photograph controls in the blink of an eye by any means.
It’s a cycle that requires persistence; the platitude “careful discipline brings about promising results” is positively evident here. The more occasions you perform picture alters, the more refined your cycle will be.