We are going to learn very important and helpful service tips from “CAR PICS EDITING“. Today we are starting to gaining the quick and easy tips to make a car more attractive and eye-catchy looks with the help of car image retouching service.

Now we can start it by opening an raw image which is full of dust and sketch in Photoshop.
Then we need to lookup closely the full car where we need to touch up or retouch. Next, we can start to retouch our car by following the steps:
>>> We know lots of tools are used for retouching service like- the Brush tool, Clone stamp tool, Spot healing brush tool and more.
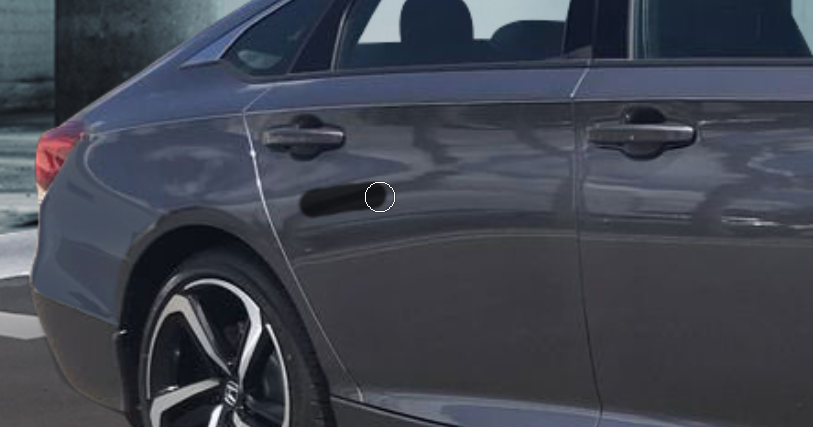
- In this tutorial, we used the Spot healing brush tool to touch up the dust area. First, we are trying to make up the area and level up as the same color as the car body.
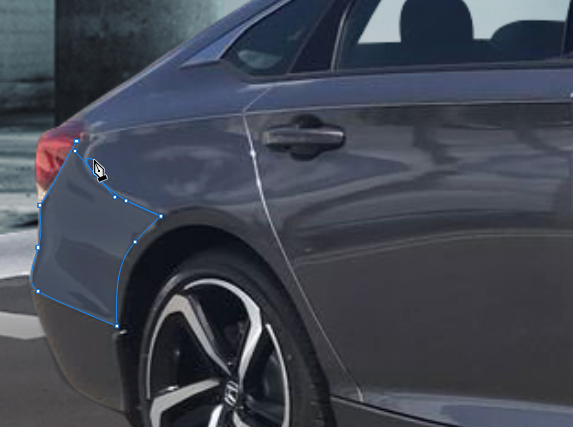
2. Then we used the clone stamp tool to adjust the damaged area by taking the perfect area and color. Please follow the video tutorial attentively.
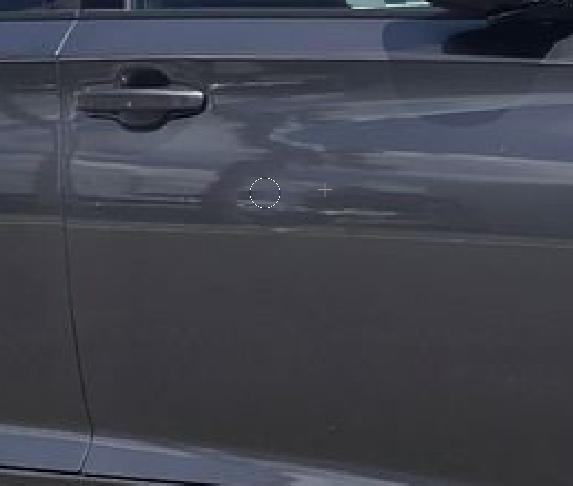
3. Next, we used the Brush Tool. This tool we used to adjust the color part of that car image.
Check out our retouching service:-
Automotive dealer image editing and enhancement
For clear concept Please check out that video-
Read more: Remove car reflection
How to retouch a car easily in Photoshop.