Do you want to make your car photos more appealing to the audience and display them in the best possible light? When an image is shown properly, it becomes highly bright and appealing to the eye. Many photographers take excellent photos but are unable to exhibit them appropriately. As a result, they use Photoshop to alter professional car photo editing. Especially in car photography, the photographs require considerable editing to present them in their finest light.
Many photographers and car dealers want to photoshop cars pictures in the best light possible, but they don’t know how to edit car photographs in Photoshop. This article is for them. We’ll go through some basic techniques of retouching and car image editing photoshop.
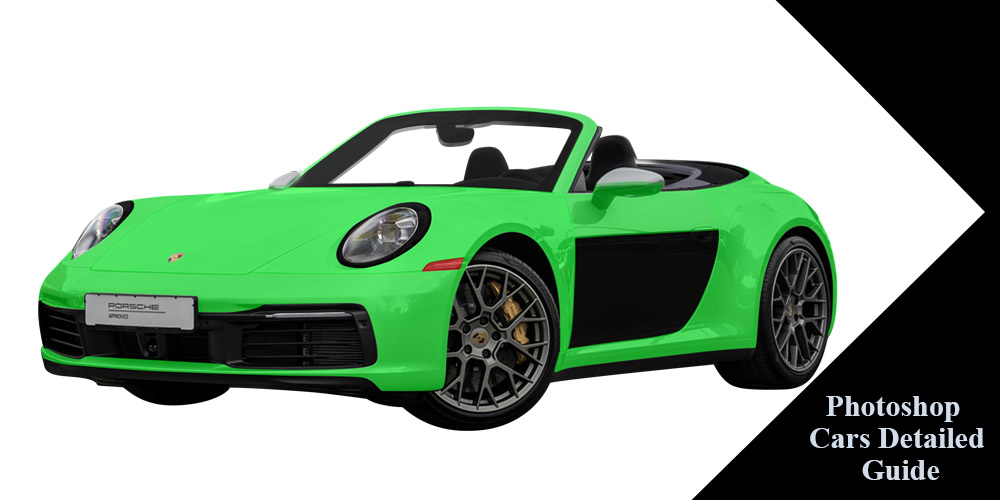
Cars Image Detailed Guide
You must manage numerous procedures to provide the finest form of the automobile. A clipping path is a frequently used service for editing or retouching vehicle photos. The clipping path is an important aspect of image editing.
We must first remove the photo’s backdrop and set it on a white background to display the best version. Because the photos have a white backdrop, just the topic will be seen. Then we must adjust the color and give the automobile a color that is accurate to life.
Objects that we don’t want in the photograph can sometimes appear in photos. As a result, we must also get rid of unwelcome items. Finally, we’ll add shadows to give the image a more realistic appearance. This step completes the automobile photo editing and gives it a fresh appearance. All of these processes are easy to follow.
Let’s look at how to editing cars images photographs in greater detail.
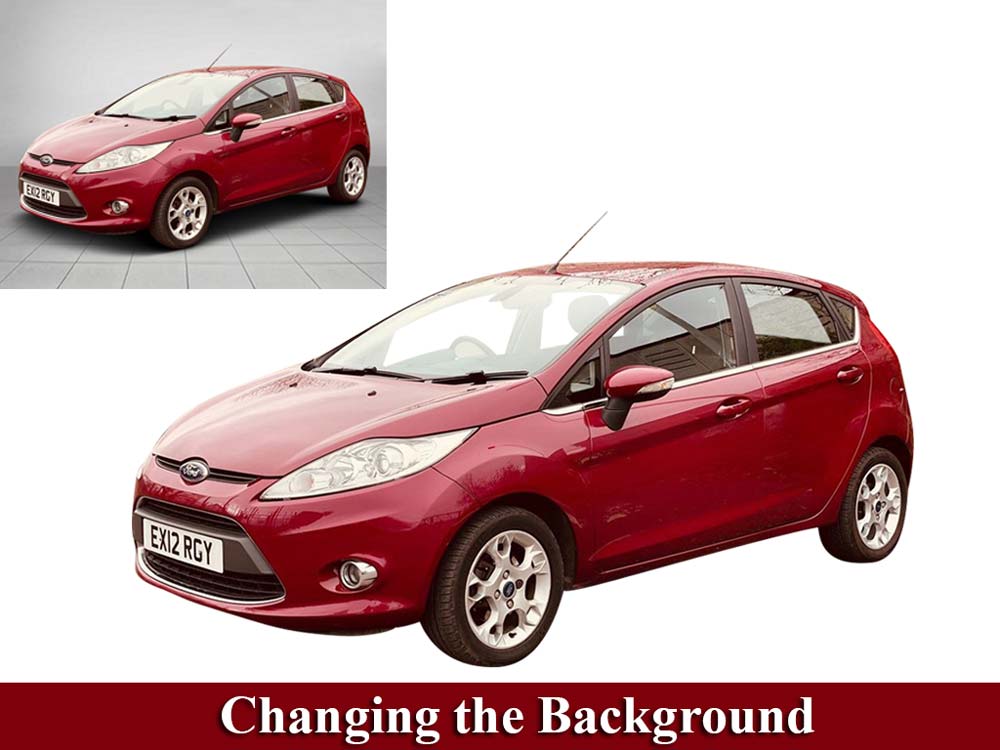
1. Changing the Background of photoshop cars images
- Open the car picture in Photoshop first.
- Make a duplicate layer of the photo now.
- Now choose the pen tool from the fast menu and stick it on the duplicate layer.
- Select the desired region using the pen tool.
- By hitting Ctrl + Enter, you may now pick the route.
- Invert the picture by pressing Shift+ Ctrl+ I.
- Select the brush tool from the fast menu and paint the color on the duplicate photo layer’s backdrop. If you clean with white, you’ll get a white backdrop for your automobile shot.
2. Making a Transparent Background for a Car Image
- In Photoshop, select and open the car picture file.
- Make a copy of the photo layer.
- Now choose the pen tool from the fast menu and stick it on the duplicate layer.
- Select the desired region using the pen tool.
- By hitting Ctrl + Enter, you may now pick the route.
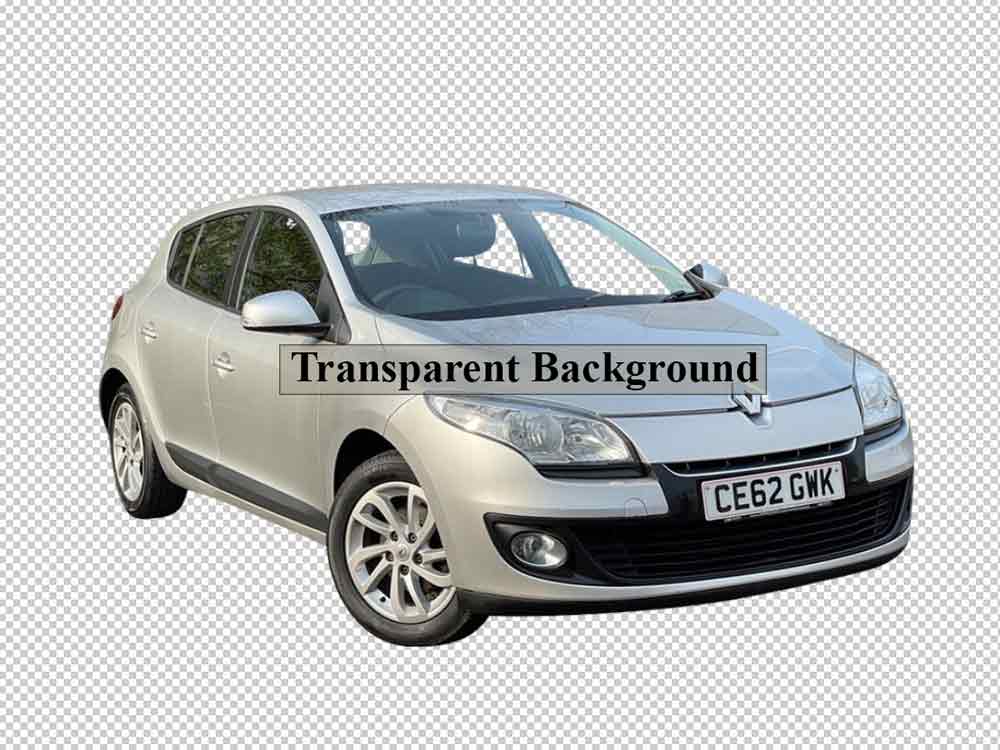
- To make the picture’s backdrop transparent, press Ctrl+ J.
- In Photoshop, the translucent backdrop appears as a checkerboard pattern.
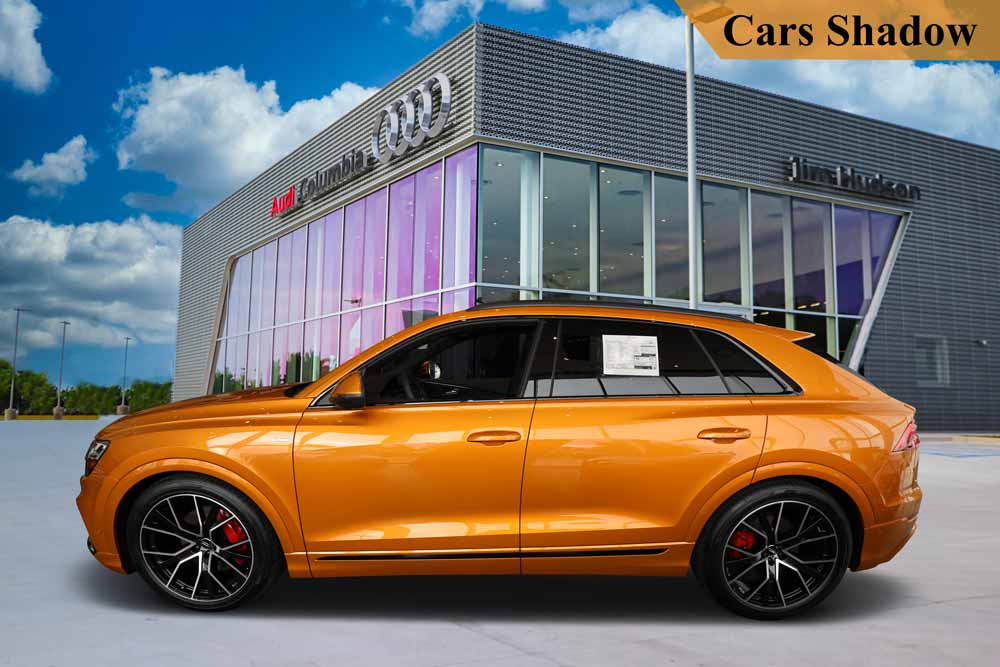
3. Process of Cars Shadow
- Open the picture file where you wish the shadow to appear.
- Duplicate the picture layer and rename it Layer 1.
- Select the subject’s region with the pen tool.
- Make a second layer and call it Layer 2.
- By hitting Ctrl + Enter, you may now pick the route.
- To make the picture’s backdrop transparent, press Ctrl+ J.
- Make the third layer and call it Layer 3. This layer should be dragged underneath Layer 2 and placed there.
- Find and choose the brush option from the fast menu and the color black to make a shadow.
- Use this brush to create a shadow-like effect beneath the automobile.
- Select the white brush color and use it to brush away any extra black color.
- You may modify the shadow depth by utilizing the capacity option. To get a decent shadow effect, make sure the capacity is set appropriately.
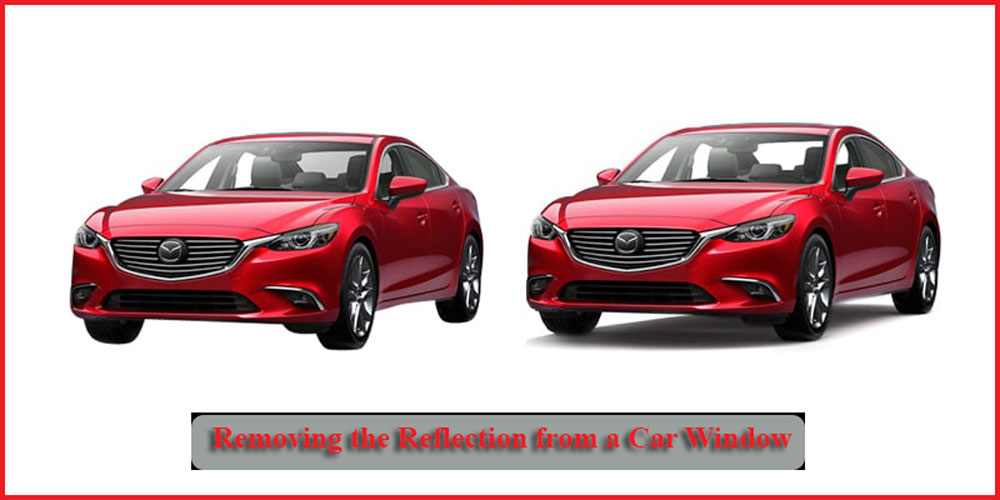
Removing the Reflection from a Car Window
- In Photoshop, open a car picture.
- Select the pen tool from the fast menu now.
- Select the desired region using the pen tool.
- By hitting Ctrl + Enter, you may now pick the route.
- Now select white as the color for the brush tool.
- Change the white color’s capability from 25% to 25%.
- Paint over the reflection with the brush tool to make it white.
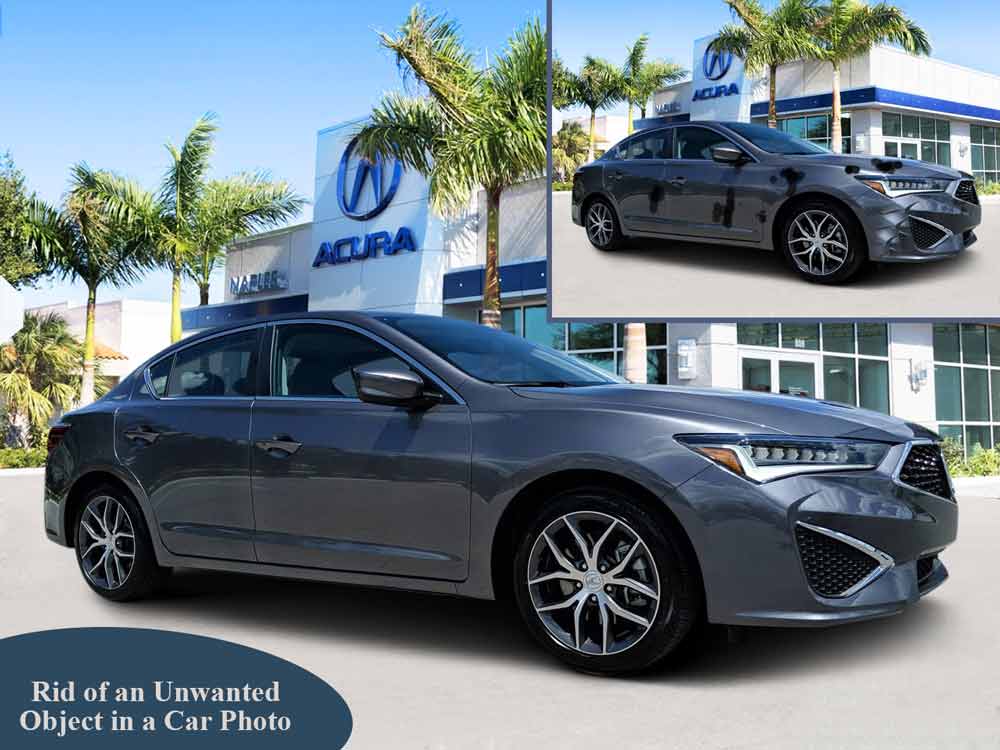
Get Rid of an Unwanted Object in a Car Photo
- In Photoshop, open the vehicle picture.
- Select the clone stamp option by pressing S on the keyboard.
- To change the color of the item, press Alt and then the Let key.
- Brush the color over the object after picking it up, and the object’s usefulness will be lost.
How to edit car photos in Lightroom?
In today’s era of competition, engaging a customer with Unprocessed photos is a risky move. If you take a shot of a car and it appears uninteresting, you’ve used the wrong settings. This indicates that your image is devoid of color and passion.
The challenge now is how to edit car photographs in Lightroom to add a sense of atmosphere to the image. You can complete this operation using a variety of editing tools. You can either do it yourself or hire Photoshop services if you are a professional photographer.

Now we will teach you how to edit car photos in Lightroom quickly and effectively.
1. Begin with Basics:
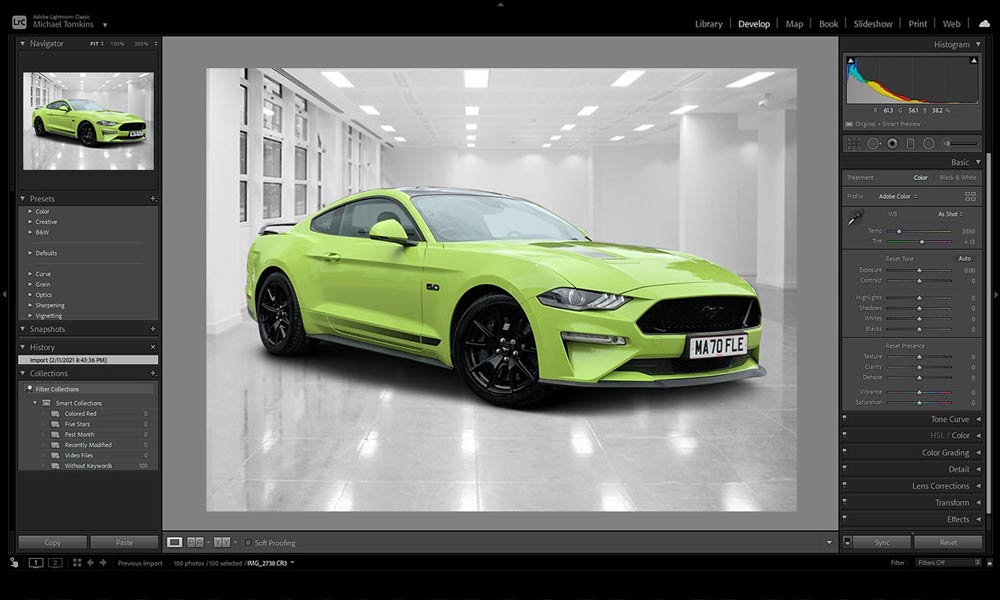
Begin the editing process in the Develop module’s Basic section. We take care of the basic exposure, which determines the image’s overall appearance.
Begin by changing the white balance at the top of the Basic Panel. We’ll reduce the temperature to 5600 and raise the tint to 10 because the original image is a little green and warm.
All of the other sliders below those two, from exposure to saturation, can tweak to suit your tastes. Just be careful not to overdo it with the exposure, highlights, or whites, or you’ll miss out on important elements like color and texture.
Keeping the clarity below 30 but over 0 is a decent rule of thumb. When you abuse the clarity slider, the image becomes overly dramatic, which might seem unprofessional. When in doubt, make little adjustments.
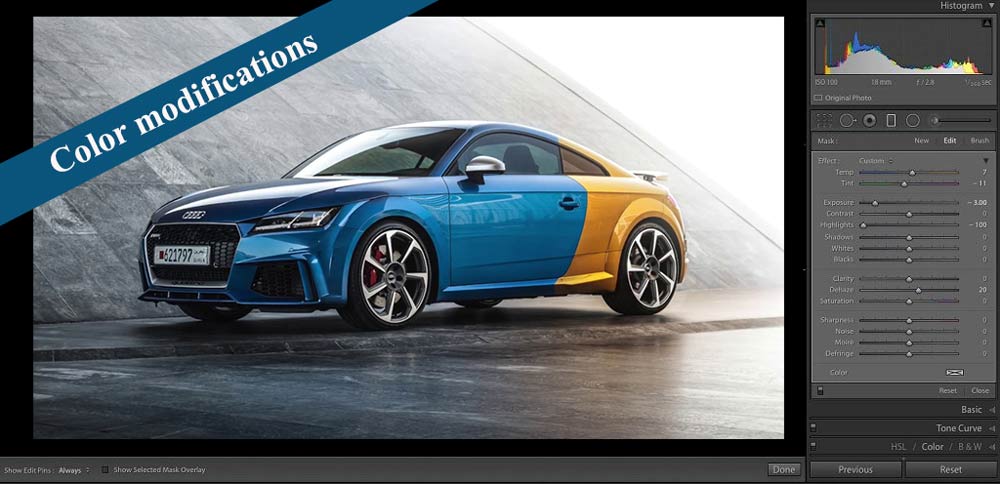
2. Color modifications:
It’s now time to fine-tune each of the colors individually. Click the “HSL/Color/B&W” button and then “All.” To make these changes, follow these steps:
- Red – Saturate a little to make the brake calipers pop more.
- Orange – If there is any orange in the image, do some modifications to it.
- Yellow – Increase the saturation of yellow to emphasize how cool the paint color is. Alternatively, reduce the luminance (brightness) to retain the paint shade’s integrity.
- Green – if the grass in the rear is too green for the effect you’re looking for, change the hue slider to full yellow and remove the saturation altogether. Then, to keep the grass from seeming too flat, add some brightness.
- Aqua – To successfully eliminate the teal tinge of the windows, make the color bluer.
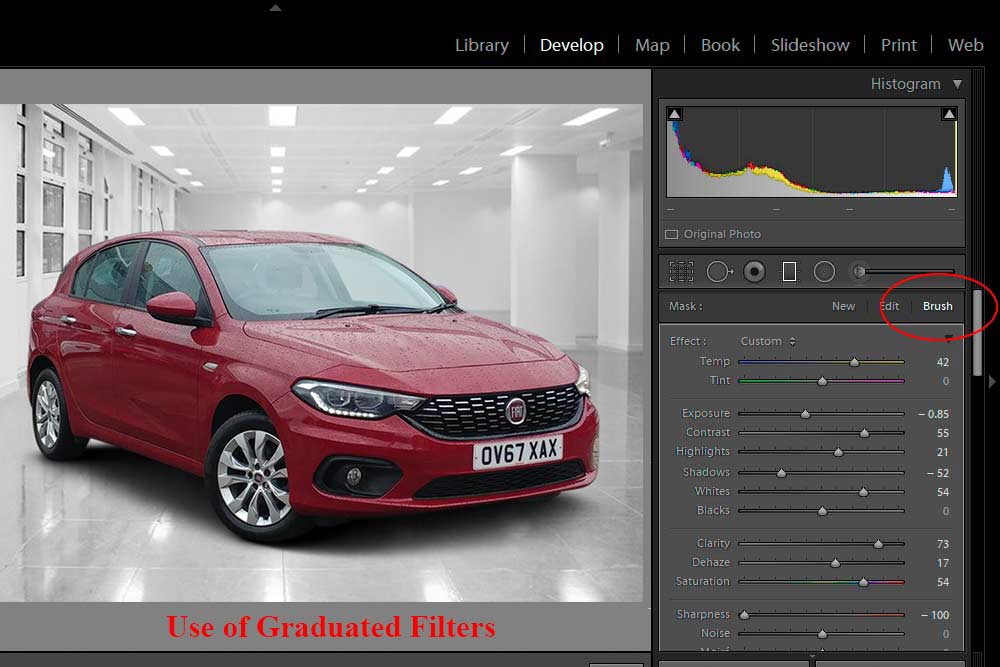
3. Use of Graduated Filters
The reality is that if the subject has a lovely appearance, the photograph will become much more spectacular. When you look at most Car photos, you’ll see that the car is on the road, and the sky is likewise focused on the camera. You can also add atmosphere to the photograph by darkening both the road and the sky. You can accomplish this in Lightroom by using the Graduated Filter.
Hover your mouse over the upper-right corner of the picture and choose the rectangle. Then, from the bottom of the image, drag the automobile. You should now have three horizontal lines with a black dot in the center.
Conclusion
You will be able to modify the image’s complete view by using the above techniques. The excellent thing is that you can use these steps to edit any car image. You can give any vehicle image a different mood depending on your needs, whether it’s an action or a static image.
You can photoshop cars images differently. There are several tools in Photoshop that you can use to alter vehicle images in various ways. All you need is a little patience and a lot of practice. So, attempt to learn how to use all of Photoshop’s features.

