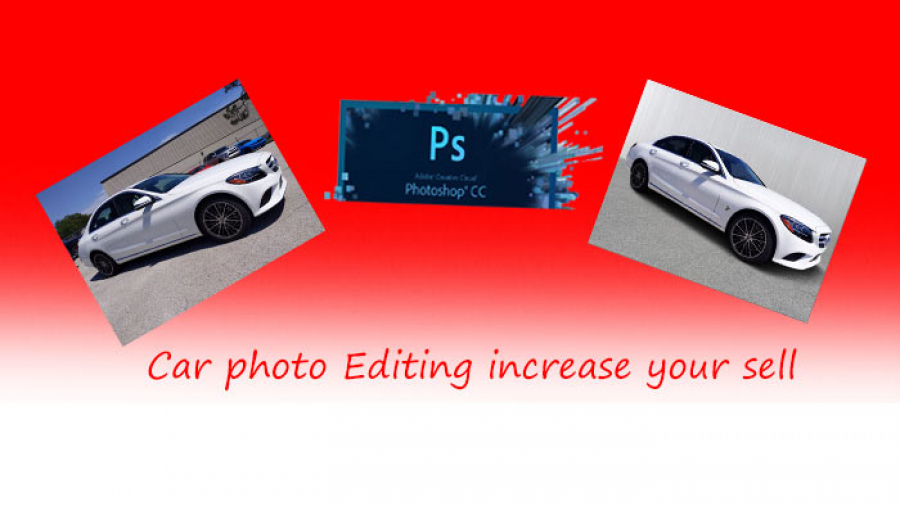
Are you in the car selling a business, and you have wished for having more growth in it? You may already know that car image editing is your way out. Photoshop has been a great help for people who are into image editing. Learn below about How To Edit Your Own Car Photo In Photoshop?
The same is for car owners or sellers who use car images to let their audience know about selling. Hence photoshop can be greatly used for car photo editing, and you can benefit from it by using your creative skills in editing. Today we are going to learn about some of the very useful tips for car image editing.
We have seen how photoshop has great use in areas such as web designing and beauty retouching. The following article will help you get your desired car looks through car photo editing.
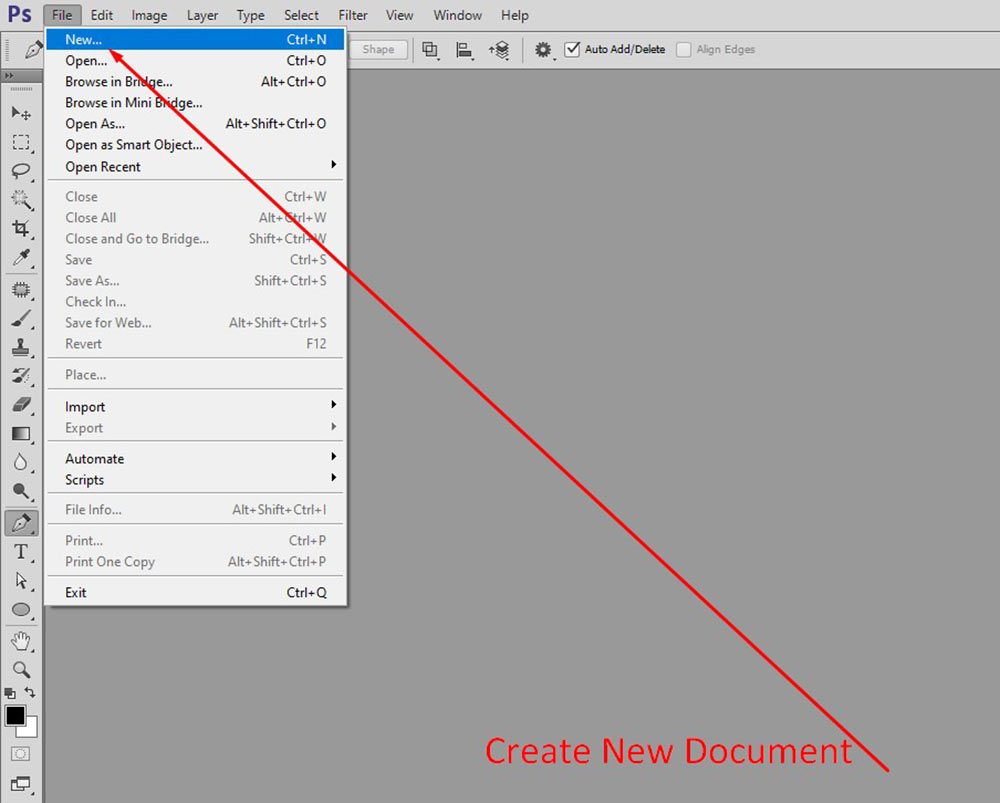
Step 1: Create Your Document
You must create your document at the right size and the resolution for your needs. Being a general statement, it is better to go large and then reduce the image size than go to the small and try increasing the image size. If you are creating the images that will be further on print, you should use a resolution of 300dpi.
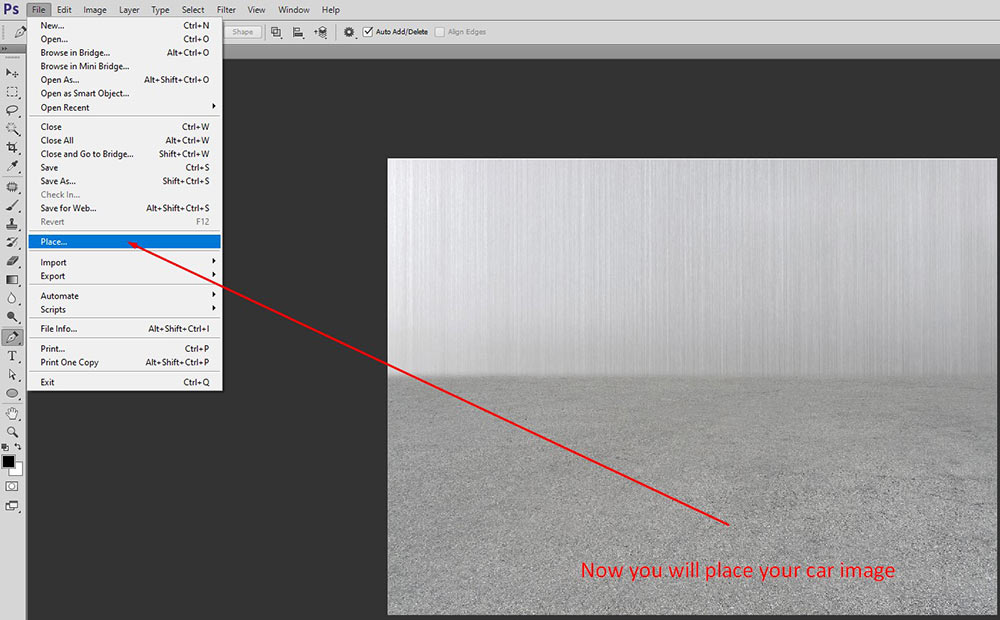
Step 2: Placing Your Images Into The Document
Now you have to place your images into the document you have created. To do this, go to File > Place Embedded. It will place your image into your scene, being a smart object. When you place your images into the document, duplicate the original layer and further edit the duplicated layer. This will then leave the original version of your image in your other working File. Making it a lot easier for you to revisit again if you have to.
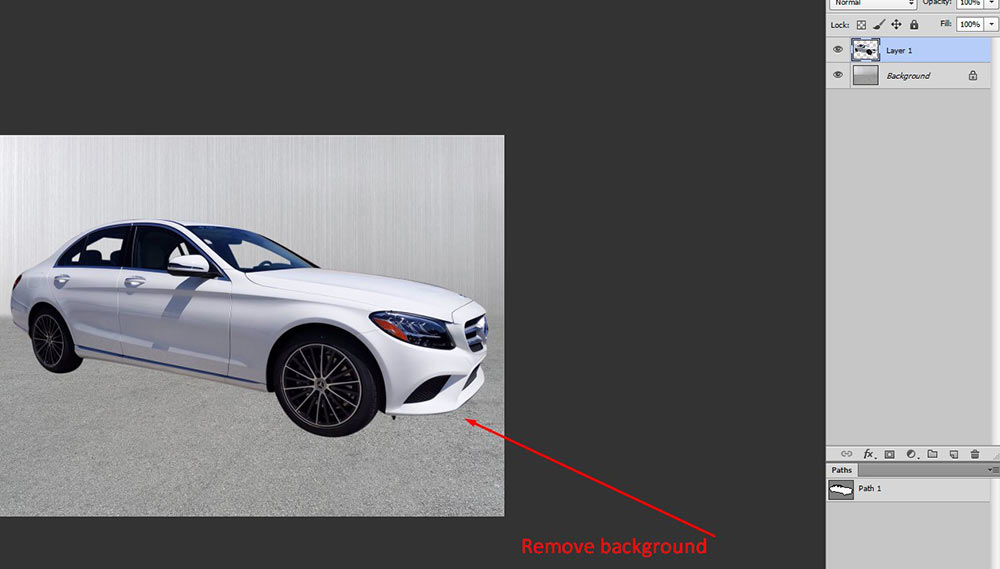
Step 3: Changing The Background Composition
Once you have the main image in your document, it is time to have a look at the composition. At this point, you may look for the images and start to place them onto your File to see which ones look better in the background. To create a highly realistic look, keep a close eye on the perspective. New images that you are placing into this scene must match the perspective of the existing images.
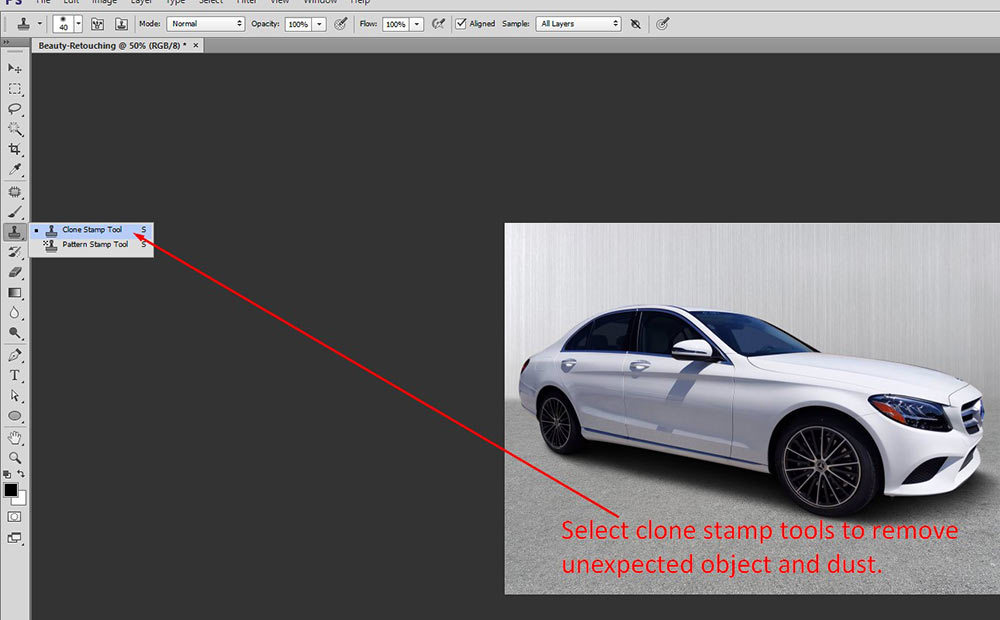
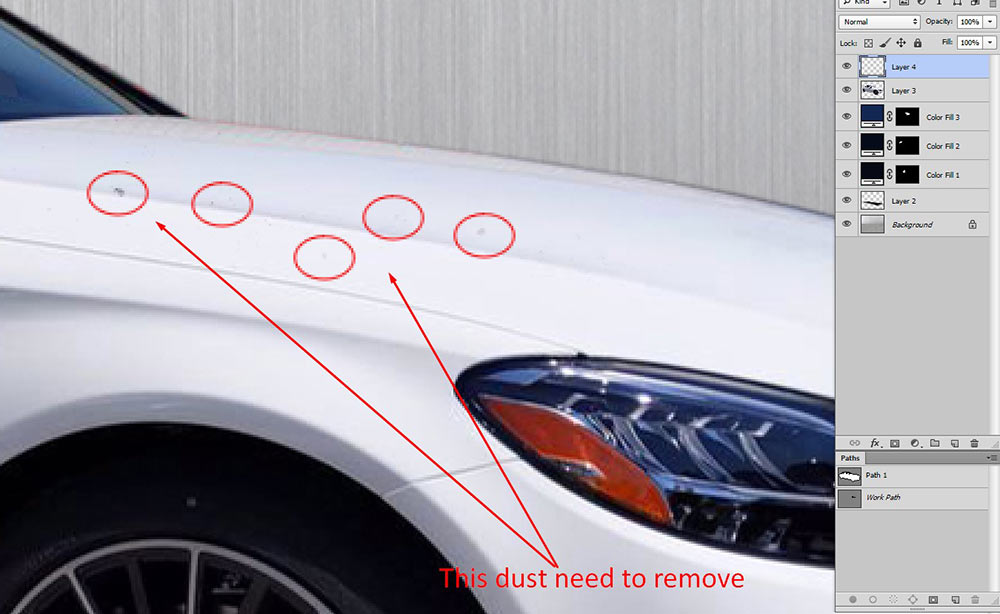
Step 4: Removing Unwanted Objects With The Clone Stamp Tool
And now you have to clean up. This is all about this stage. You have put all of the images into the document to build up the composition, now is the time to get rid of the unwanted parts. When you edit the supercar, if you want to remove the imperfections that may be on the paving, car, or bush, you can place the new images on it.
Step 5: Retouching The Focal Element Of The Stock Image
Most of the compositions will have a focal point, and you must consider this in the planning step. Then when it is the time of car photo editing, you must pay a lot of attention to this focal point. You can also take a step back and think about anything that needs to be done.
Step 6: Removing Any Personal Information
If you are using the stock images, you must remove any personal information such as the names, text, or logos. This will keep away copyright infringement and also make sure that there is no product placement.
Step 7: Correcting Contrast On The Body Of The Car
Now we have the composition completed, and all the unwanted parts of this scene have been removed. It is now the time to look at the contrast. Use the level adjustments layers to edit contrast. This is a non-destructive process and allows you to change for later stages if needed.
Step 8: Sharpening The Car
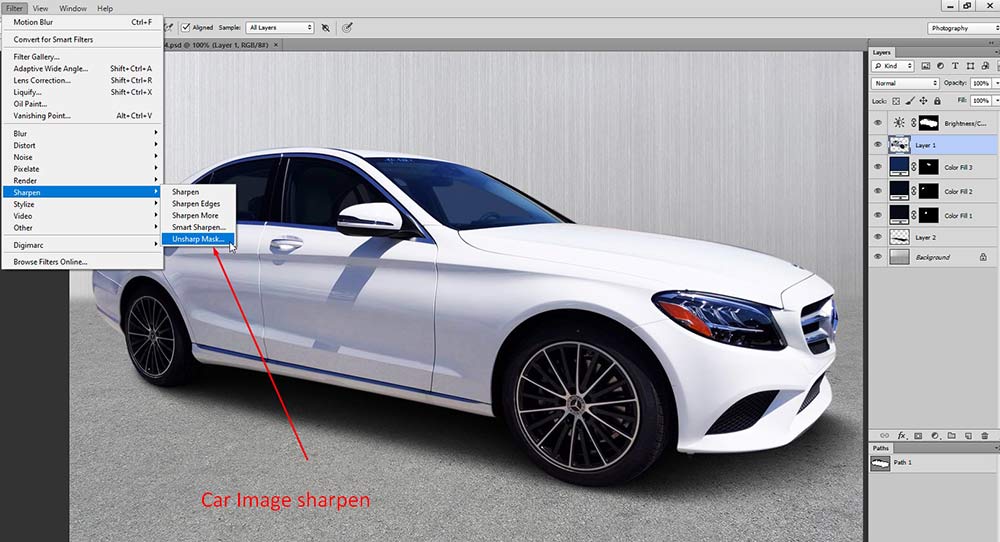
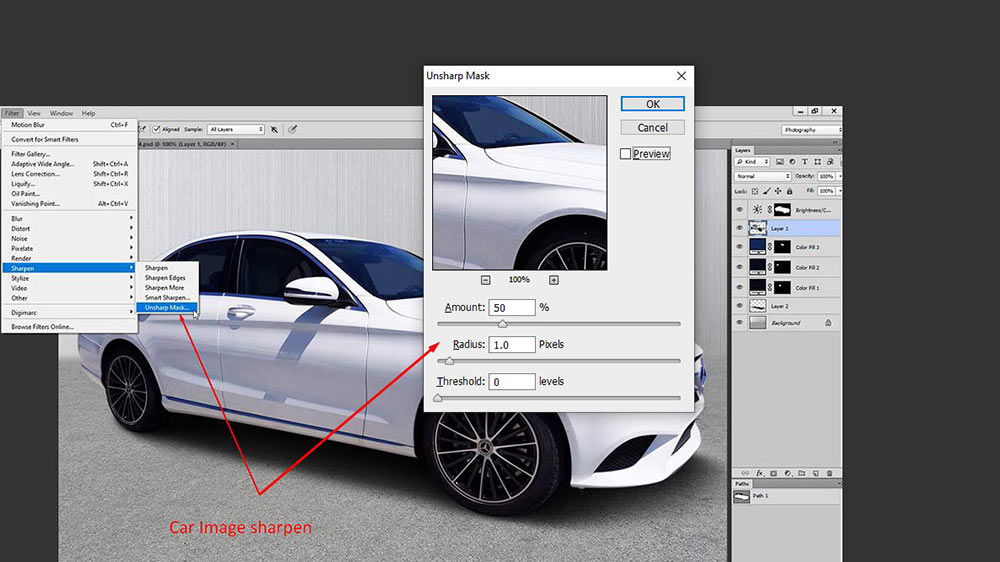
Combining up different images may lead to many areas being sharper as compared to the rest. Parts of the background may be in focus when they must be out of focus. We have to edit the sharpness to ensure the clarity in an image is achieved, and the focal areas are also correct. To edit the sharpness level, you can use the High Pass Filter in a combination of layer styles. We will also selectively sharpen a few areas using the layer mask.
- Combine up all of the layers into one layer on the top of your layer stack
- Rename the layer high pass
- Filter> other > High Pass – the radius selected will then depend on your image size
- Change the layer blend mode to soften the light
- Fill your layer mask with black to hide the adjustment
- Select the brush tool > white as your foreground color
- Print on the areas that you will like to sharpen over your layer mask
It is an effective technique that makes your images look a lot crisper. You may go on a step ahead and perform steps 1 to 7 to sharpen the parts of your image further.
Step 9: Advanced Color Correction
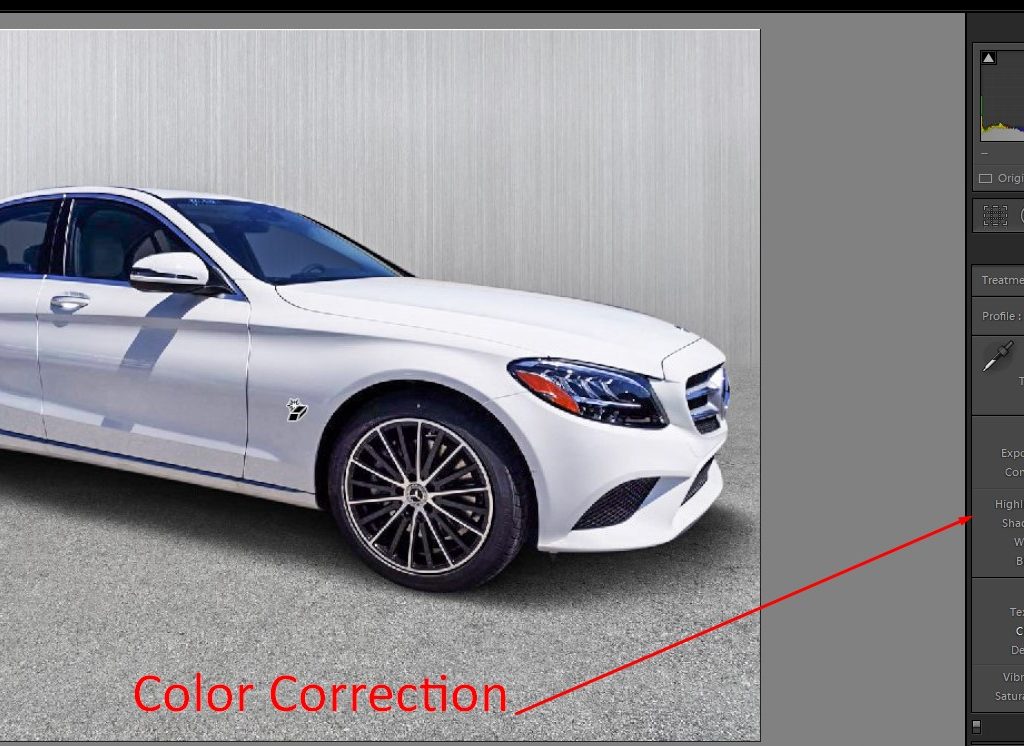
This is one of the most important steps of this whole process. But mostly, it gets overlooked. The final color adjustments will help create a seamless blend in between all of the images in the composition. They also let you create a certain feel or mood. To perform this level of adjustment, add the color lookup adjustment layer on all of the layers. Then you can go in and edit each color individually over the adjustment layer.
If you let these techniques be a part of your car photo editing, you will get highly stunning results. You will also be able to gather a lot of positive feedback that will generate sales and attention. Your leads will convert, and you will get a boom in your business. This is all about accuracy and time spent in the process that can end you with great beneficial results. So this is the full and clear concept of How To Edit Your Own Car Photo In Photoshop.
Conclusion:
Hence photoshop can be greatly used for car photo editing, and you can benefit from it by using your creative skills on editing. Today we are going to learn about some of the very useful tips for car image editing

