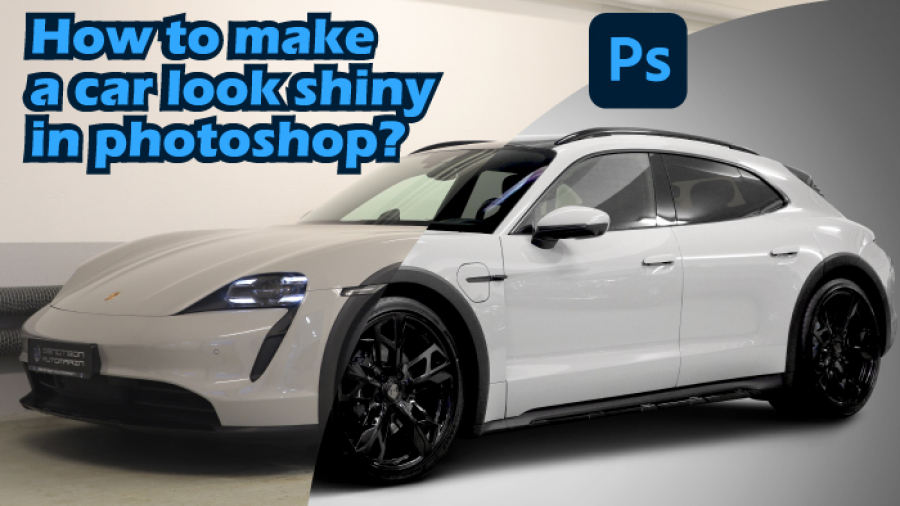
You will find multiple easiest built-in tools in photoshop to ensure a dramatic change of the photo. Using those tools, you can present a shiny and stand-out photo. Plus, those tools will help you turn any gloomy and dull photo into a shiny photo.
However, giving a shiny effect to your dull and gloomy photo in photoshop isn’t a complex task. You can easily do that by following some simple techniques. Let’s explore how to make a car look shiny in photoshop.
How to make a car look shiny?
If you drive every day, your car gets a lot of scratches, oxidation, and swirls. Therefore, the paint has a lot of contamination and you can hear the rough sound when you touch the surface. Typically, those things are stuck in the pores of the paint which gives you a rough and grimy feel. So, let’s see how to make the car surface shine. To begin with, select a small area and take an OG Clay Bar and clay the car surface. Then, you need to knead that into a paddy using two or three fingers. Now, take a lubricant and spray it on the surface and work it back and forth in straight lines using a decent amount of pressure. We use Clay Luber as the lubricant.
After using that lubricant, hopefully, you will see all the junk runoff and all the crap coming out of the paint. Thus, it will bring back the previous smooth feeling. Then, take a clean microfiber towel to clean the surface. Note: You need to buff off in one direction to avoid creating any new swirls and scratches. When you feel the smooth surface, now it’s time to go to the next process like top it off with a glaze.
Hopefully, you get the shiny smooth surface on your selected area. Now, you need to finish off the rest of the vehicle.
Now, take a TORQ 10FX and a Blue Pad to apply glazes, waxes, and sealants. Applying those will result in a very fine layer. Plus, it will make the bond to the surface and buff off easier. We take EZ Creme Glaze and shake it up. Using that material, you can enhance shine and bring out the metallic. Also, that will fill the minor swirls and scratches. So, we loaded the pad and blotch it out, and spread it out in an even layer with the lowest speed. Our product EZ Creme demands only fifteen minutes to bond, then you need to buff off the excess. After buffing it off, you can clay the vehicle and apply EZ Creme all over the painted surfaces. Hopefully, now, you can see an amazing deep reflective shine.
How to Create a Shiny Paint Effect in Photoshop?
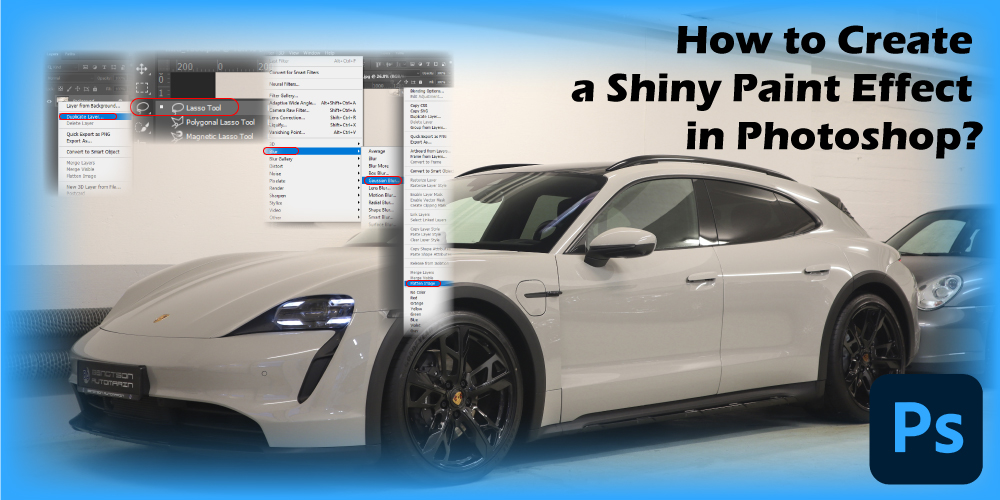
- Let’s see the process of creating a shiny paint effect in photoshop.
- To begin with, you need to navigate to File => Open and select your desired photo to open in photoshop.
- Now, go to the bottom right corner to select the layer palette. Then, click right on that layer titled and choose Background => Duplicate Layer. Therefore, you can give a shiny effect to your entire image. Now, choose a Lasso Tool from the tool palette and select a part of the image using the lasso tool. You need to trace around the section’s edges that you want to give a shiny effect. Then, navigate to “Layer” => select “New” => choose “Layer via Copy” to convert your selection into a new layer.
- Now, go to the layer palette to create a new layer. Then, navigate to the drop-down box that is named “Normal” and click there to select “Screen”.
- If you find your selection overlaps other areas of the image, you can erase those using the Eraser Tool. So, be careful while erasing around the image’s edges.
- After that, choose “Duplicate Layer” by right-clicking on the new layer. Then, go to the box that is named “Screen” and click on that to change that status by “Overlay”.
- Now, go to the top of the screen to select “Filter” => “Blur” => “Gaussian Blur”. Then, reduce the radius by dragging the slider to the left until it becomes 1.0 pixels. You can test other sizes to see how the image looks, for example, more or less blurry. Note: When you increase the radius, it will make your image more blurry.
- Finally, you need to click on the “Layer” => select “Flatten Image” to flatten your image. Then, navigate to the “File” => “Save as” => choose in which format (JPG or PNG) you save your image.
Photoshop Car reflection effect
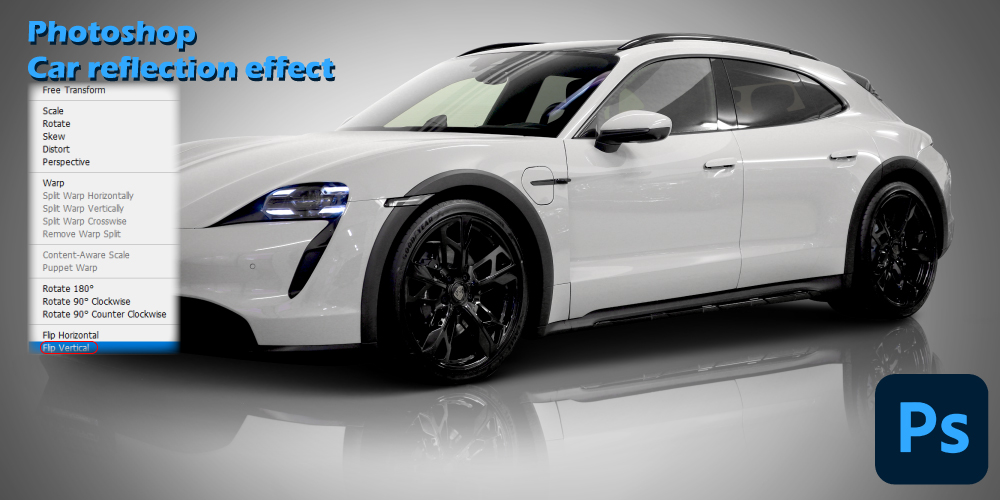
Let’s see how to give a car reflection effect in photoshop.
- Firstly, you need to choose the marquee tool and then drag and make a selection around the area on where you want to reflect.
- We want to reflect at the bottom of the wheels so; you need to select around the top section of the image.
- Now, go to the Layers panel and press ctrl J to copy that selection to a new layer. If you hide the background, you can see whether you can trim down at the wheel nicely.
- Now, turn the move tool from the toolbar so, just hit the V key for that.
- Then, you need to press control T to go into free transform mode, hence you can do multiple transforming.
- After that, right-click on the image, then you will see multiple menus. Your job is to click on the Flip Vertical.
- Then, you will see the vertical transformation of the car. That formation lets you move by dragging. Note: Move the car into the bounding box area.
- If you hold down the shift key while moving, you can constrain it to perfectly vertical.
- Try to line up those wheels to make sure a nice reflection then press the Enter key.
- Up next, click on Layer 1 and then click on the Filter from the top and choose Blur => Motion Blur.
- Now, a new control panel will open, and choose the degree depending on how much distance you want to apply.
- Another option named Distance lets you increase and decrease the portion of a blur.
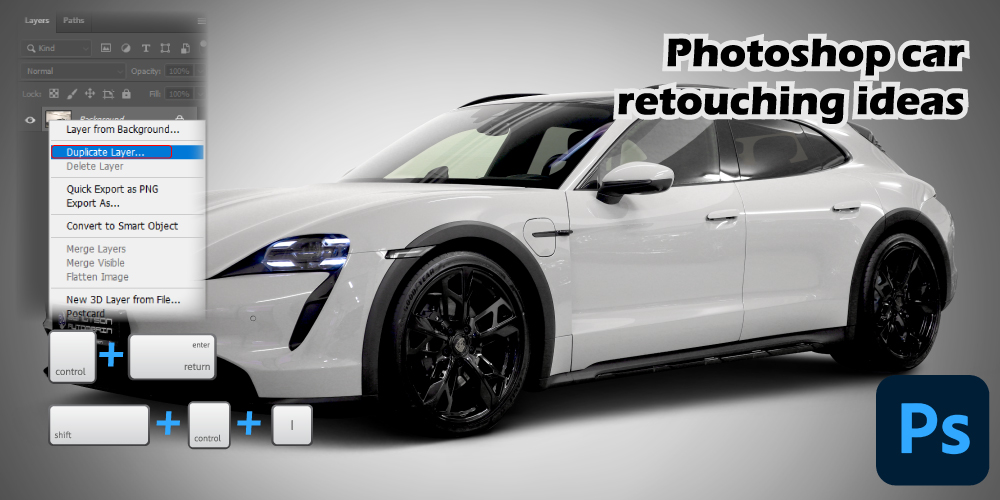
Photoshop car retouching ideas
- In the following section, we are going to present two different photoshop car retouching ideas.
- Changing the Background of Car Image
- Firstly, you need to open your desired image in photoshop.
- Then, create the photo’s duplicate layer.
- Next, keep that duplicate layer selected and choose the pen tool from the quick menu and select your desired area.
- Then, press Ctrl+Enter to select the path.
- Again, you need to inverse the photo by pressing Shift+Ctrl+I.
- Finally, navigate to the quick menu to choose the brush tool. Then, brush on the duplicate photo layer’s background. Now, clean the background using white color to get a white background on the image.
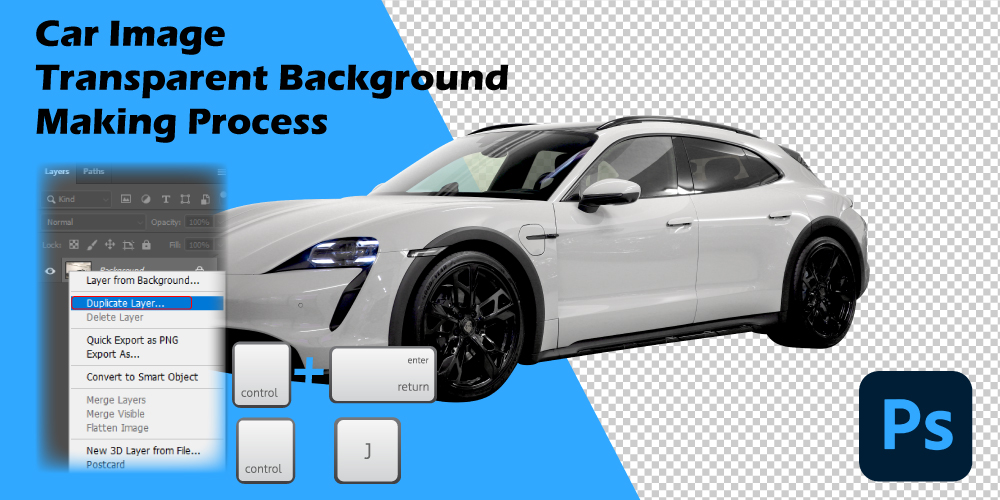
Car Image Transparent Background Making Process
- Open your desired photo in Photoshop.
- Then, create your photo’s duplicate layer.
- Next, keep the duplicate layer selected and also select the Pen tool from the quick menu and select your desired area.
- Then, press Ctrl+Enter to select the path.
- Finally, transparent the image background by pressing Ctrl+J.
Final Thought
By now, we have given you comprehensive details on how to make a car look shiny in photoshop. Hopefully, our article will help you make your car photo eye-catching and outstanding. So, to get more tutorials please bookmark this site.

