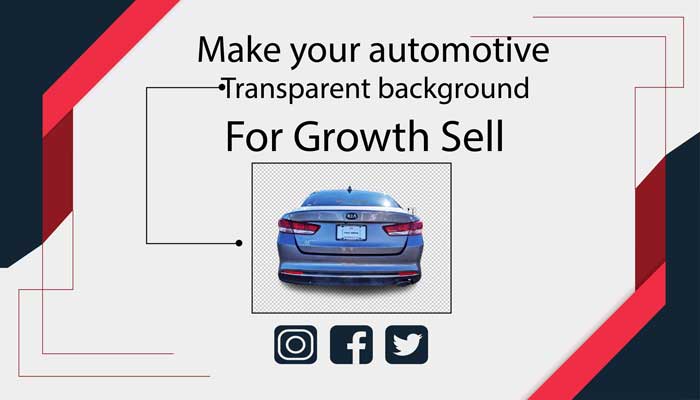
Best automotive image enhancement for improving your sales
Automotive image enhancement is becoming the most discussed topic all over the world. All I will say will be less about the topic. Image enhancement, image editing, image retouching all are very important. There is a huge image-altering service being built every day. Maybe you people get distracted when browsing and looking for the perfect […]
Best automotive image enhancement for improving your sales Read More »